Showing posts with label Growing Up Baby. Show all posts

Tuesday, May 5, 2015

Homemade 'Tear Free' Baby Bubble Bath Solution

Who does not love a bubble bath? Instead of going out and buying another product I decided to make my own Baby Bubble Bath Solution. This recipe is easy and quick. I know use this every time for bath time, it makes for cleaning and scrubbing my toddler easier because he is already playing and swimming in the cleaning solution.
Ingredients
1 cup Baby soap or shampoo
3/4 cup Water
1/2 to 1 teaspoon Glycerin
15 Drops of Essential Oils (I like to use Lavender or Serenity, soothing before bedtime)
Directions

I poured all of the ingredients into a clear glass bowl and began to whisk, gently. I then had some empty shampoo containers that I funneled the solution into. I then labeled with sharpie (did not get picture of that). And DONE! Time to clean a dirty Baby. 


Wednesday, March 11, 2015

DIY Moon Sand Tutorial - Baby Safe

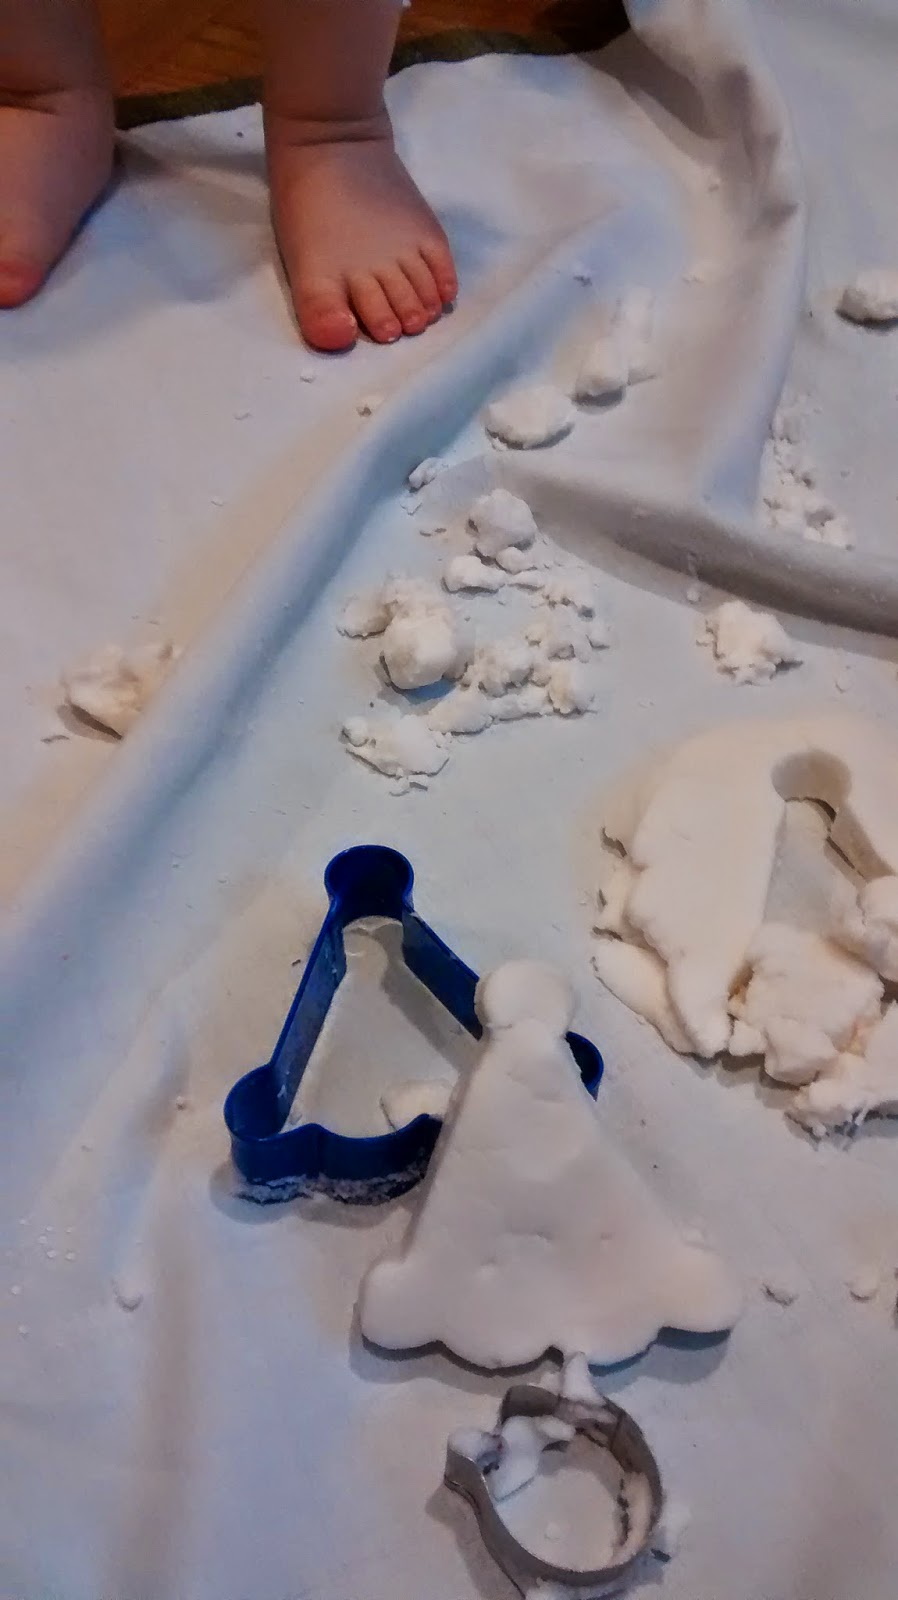
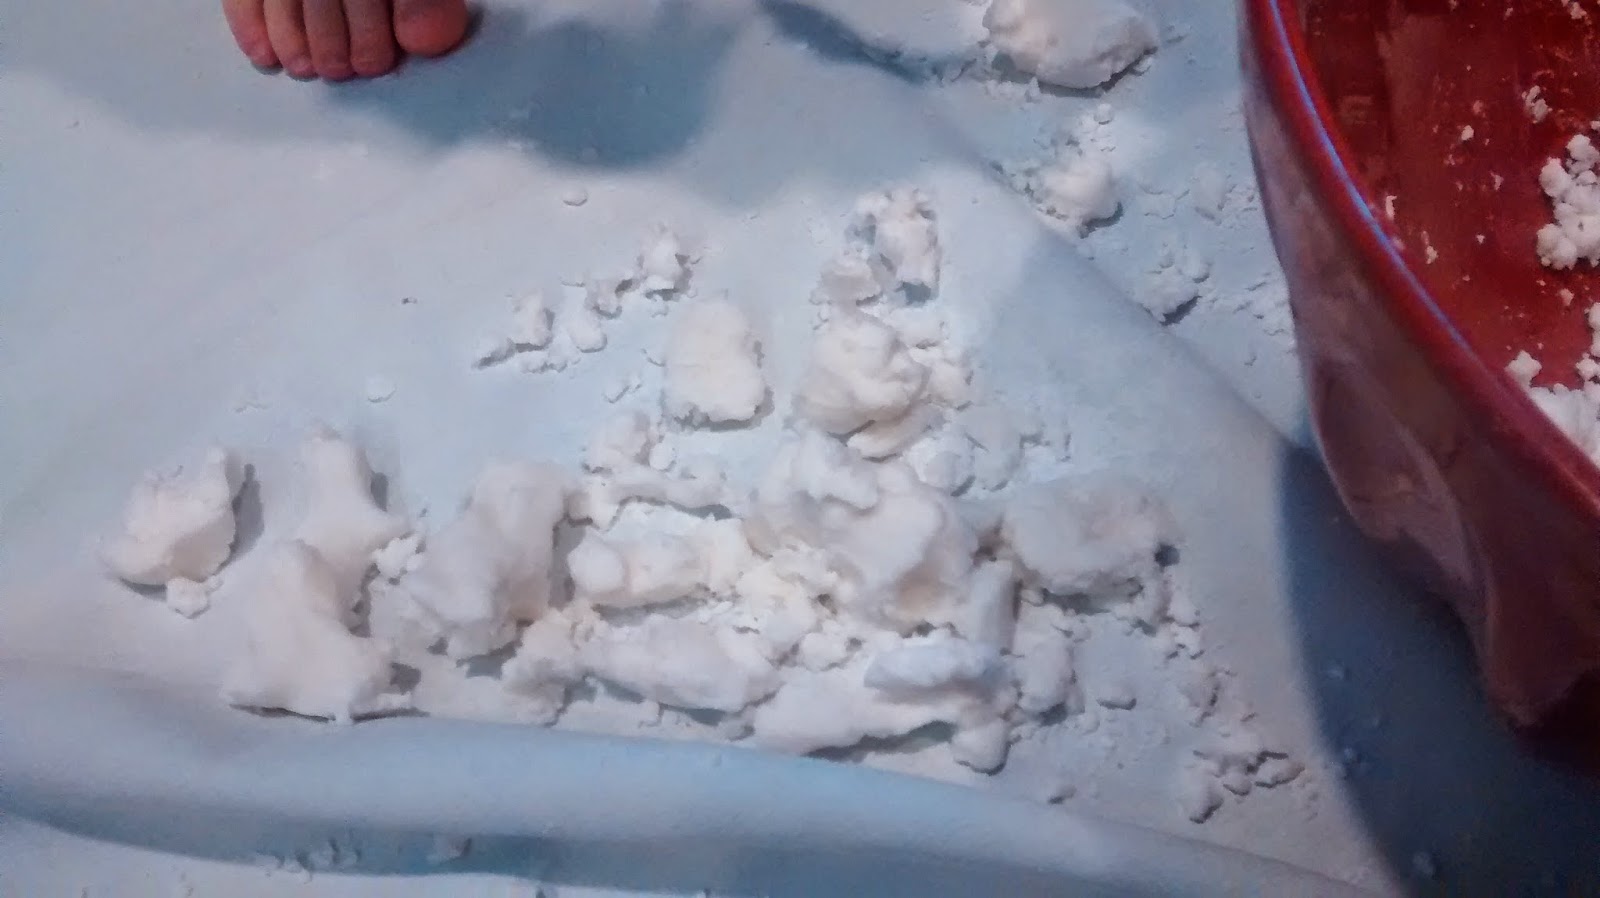
In Maryland we have been hit with storm after storm, so we have had a lot of inside time. Plus morning sickness has taken all my energy. I was looking for something fun and safe for my 18 month old and saw this idea here. I used coconut oil and arrowroot powder both amazing for the skin and safe if consumed. The perk of using these ingredients is that they helped with my dried and crank skin from this harsh winter. I also rubbed it all over my toddlers dried spots, he thought that was fun. Love multipurpose activities. Plus adding Wild Orange Essential oils helped with my nausea (at least for a little bit).

Moon Sand Recipe

Ingredients

  • 2-4 cups cornstarch or arrowroot powder 
  • 1/2-1 cups coconut oil, melted 
  • food coloring, if desired*
  • Doterra Oils for scent, click here for more information

Directions

Step One: Add arrowroot powder or cornstarch to a medium/large bowl. I used arrowroot and only 2 cups. 
Step 2: Melt coconut oil in microwave (I started with 1/2 cup). If you’re using food coloring, now is the time to add it to your coconut oil.
Step 3: Mix all together. I kept adding more oil to make the mixture more play dough like, because I thought my toddler might like that consistency. You do what works for you. Add essential oils. 
Step 4: Play time!!! I laid out a old curtain that had a semi water proof side to help contain the mess. Clean up was a breeze. I first stored the moon sand in a jar, shook off the play mat, and then swept the floor. DONE! 


Tuesday, January 20, 2015

DIY Liquid Laundry Detergent - Money Saving - Cloth Diapers

This is my favorite homemade laundry detergent recipe for four reasons;

1. Does not require many ingredients
2. Multi-purpose uses of the ingredients used (for other cleaning recipes, see here)
3. Money saving
4. Easy to make

I have been using this recipe for almost a year now and have had no problems with it. Use it on my cloth diapers as well.
Recipe

1/4 to 1 cup Borax
1/4 to 1 cup Baking Soda
2-4 tablespoons of Blue Dish Dawn Soap.
1 gallon of water, approximately
Essential oils (See below for options and combos) - OnGaurd blend is one that I will be using
Empty gallon juice jug (I use the Apple Juice Jugs from Costco, we first drink the juice)
Directions

Step 1: Measure out the Borax and Baking Soda. I use about 1/4 cup of each but if you need a stronger detergent add more out in Juice Jugs.
Step 2: Add about 4 cups of very hot water and then mix the ingredients together well.
Step 3: Add the remaining water to jug but have it be cold till it is not quite full.
Step 4: Add the dish soap to some water then add to jug, mix gently and add remaining water if needed. (Note: I add the ingredients in this order to prevent the dish soap from bubbling up and making it very hard to fill the Jugs.
Step 5: As you a can see I make several gallons at once (as much as I have room for). I only add the esstential oils to the gallon jug only when I start to use that jug.
Step 6: Use between 1/3 cup to 1 cup depending on the amount of cloths and the dirtiness factor. For my cloth diapers I use about a cup for a small-meduim size load.

Here is some Essential oil combos that I used, found here.
Power up your homemade laundry soap with one of the following essential oil blends. Not only will they make your clothes smell nice, but they have antibacterial, antiviral and anti fungal properties – great for killing germs while washing out dirt and grime. If you’re exceptionally sensitive, you can leave out the essential oils – you’ll still get a good laundry detergent with strong cleaning powers.
Lavender Essential Oil Blend
40 drops Lavender
30 drops Lemon
20 drops Clove
Citrus Essential Oil Blend
30 drops Grapefruit
30 drops Orange
30 drops Lemongrass
Tea Tree Essential Oil Blend
40 drops Tea Tree
30 drops Lemon OR Lemongrass
20 drops Palmarosa
This following recipe is on that I have not tried yet, but I am putting it on here to remind me to try it. It is a powdered laundry detergent.

Ingredients

1 bar (or 4.5 ounces) of shaved bar soap (a homemade laundry bar, Dr. Bronner’s, Ivory, ZOTE, or Fels-Naptha)
1 cup of borax
1 cup of washing soda
Essential Oils

Directions
Thoroughly stir together for 5 minutes and enjoy the results! You can take this a step further and blend the mixture in a blender or food processor to create a powder that will dissolve easily even in cold water. (Just be sure to let the dust settle before removing the lid of your blender or food processor so you don’t inhale the fine particles.) Store in a sealed container with a small scoop.

Use 1 Tbsp per load (or 2-3 Tbsp for large or heavily soiled loads).

Thursday, November 6, 2014

DIY Cloth Baby Wipes and Wipe Solution

        Making your own cloth baby wipes will save you money and it's good on the environment. It is easy and inexpensive to make the switch. If you are at all tempted to try an 'All Cloth Diapering System' then starting with cloth wipes is a perfect baby step.  

        How to Make Cloth Wipes

        I am BIG into up-cycling and saving money. In my research for finding fabric to make cloth wipes the most frequent used are flannel, terry cloth, and cotton. I like the flannel the best so I collected old receiving blankets and old flannel nightgown. I then cut them into 5x5 inch squares and did a surging stitch on all edges. That is ALL, so simple and easy. Another option is to use old t-shirts cut into squares and you don't need to sew the edges. 

        Recipe for Baby Wipe Solution 
            Ingredients 
        ·       3 cups water
        ·       2 tablespoons of either baby washcetaphil cleansercastile soap
        ·       1 tablespoon of either baby oil, olive oilsweet almond oilcoconut oil
        ·       12 drops Doterra Essential Oils - 6 drops lavender, 3 drops melaleuca (tea tree), 3 drops roman chamomile 
        ·       Bottle (I used an old Gatorade bottle or an empty glass sparkling cider bottle with cork) 

        I have used many combinations at of the soaps, oils and essential oils. My favorites are the bolded ones. I have attached links on the ingredients, so you can see the benefits of each. 

        If you wish to purchase and/or learn more about Doterra essential oils visit my site.  

        Directions
        Mix together the water, two tablespoons of baby wash, 1 tablespoon of baby oil and essential oils. Then pour into bottle of your choice. As needed pour enough solution onto cloth wipes to moisten each wipe (don't add too much solution, you don't want soaking wet wipes). 

         Step 1: Gather ingredients.
         Step 2: Select your desired essential oils. 
         Step 3: Stir all ingredients together. 
         Step 4: Pour into your desired container (I used Gatorade bottles). 
         Step 5: Gather your wipes and fold. You can use cloth or paper towels. 
        Step 6: Place wipes in a container of your choice (I used and empty formula container). Pour solution over wipes till all are dampen.

        Step 7: Wipe baby buns!
        CLEANING INSTRUCTIONS 
        Place used wipes in a wet bag and when ready wash on hot and with mild detergent. 

Monday, October 27, 2014

Baby Safe (Edible) Finger Paint - Ready in 7 minutes!

RAINY DAY BABY ACTIVITY - Ready in 7 minutes 
One morning I was waiting to get into a thrift store (my baby needed a new coat, he grows so fast). The store had not open yet so I went into an office supply store next door to wait away from the rain. They had a kid section with coloring paper, crayons, paint, toys, etc. I thought that the baby finger paint look especially fun. We were having a hard time with dad on business trip and it raining all week. I was so tempted to buy it but I was a 30 day shopping cleanse (can't buy NOTHING but essentials). It was about $7, so I looked up online recipes for some homemade finger paint for babies. Below is what I came up with after looking at several ideas. Many recipes used cornstarch and other used food like yogurt (but for me yogurt is expensive just to have Rowan play in it and maybe eat it. Furthermore, I do not want him in the habit of playing with his food, this is a personal choice.)

HOW TO MAKE BABY SAFE FINGER PAINT

Step 1: Gather ingredients.
Bowl
2 cups Flour
Water, as needed
Food Coloring
Spatula
Containers (to put paint in)
Naked Baby (in bath tub or high chair).
Step 2: Measure 2 cups of Flour and put in large bowl (the amount of flour is not important use however much you want)
Step 3: Gradually start added Water and mix together. Keep adding till you get to a running constancy.
There will be lumps. You can use a electric mixer or blender if you don't want any (I did not care for mine).
This the the constancy that I wanted.
Step 4: Divide into how many colors that you wish to make and put in individual containers (I had an small doll cake pan that I used). I did four colors; blue, green, red and yellow. Add 2-4 drops of Food Coloring to each container and stir.


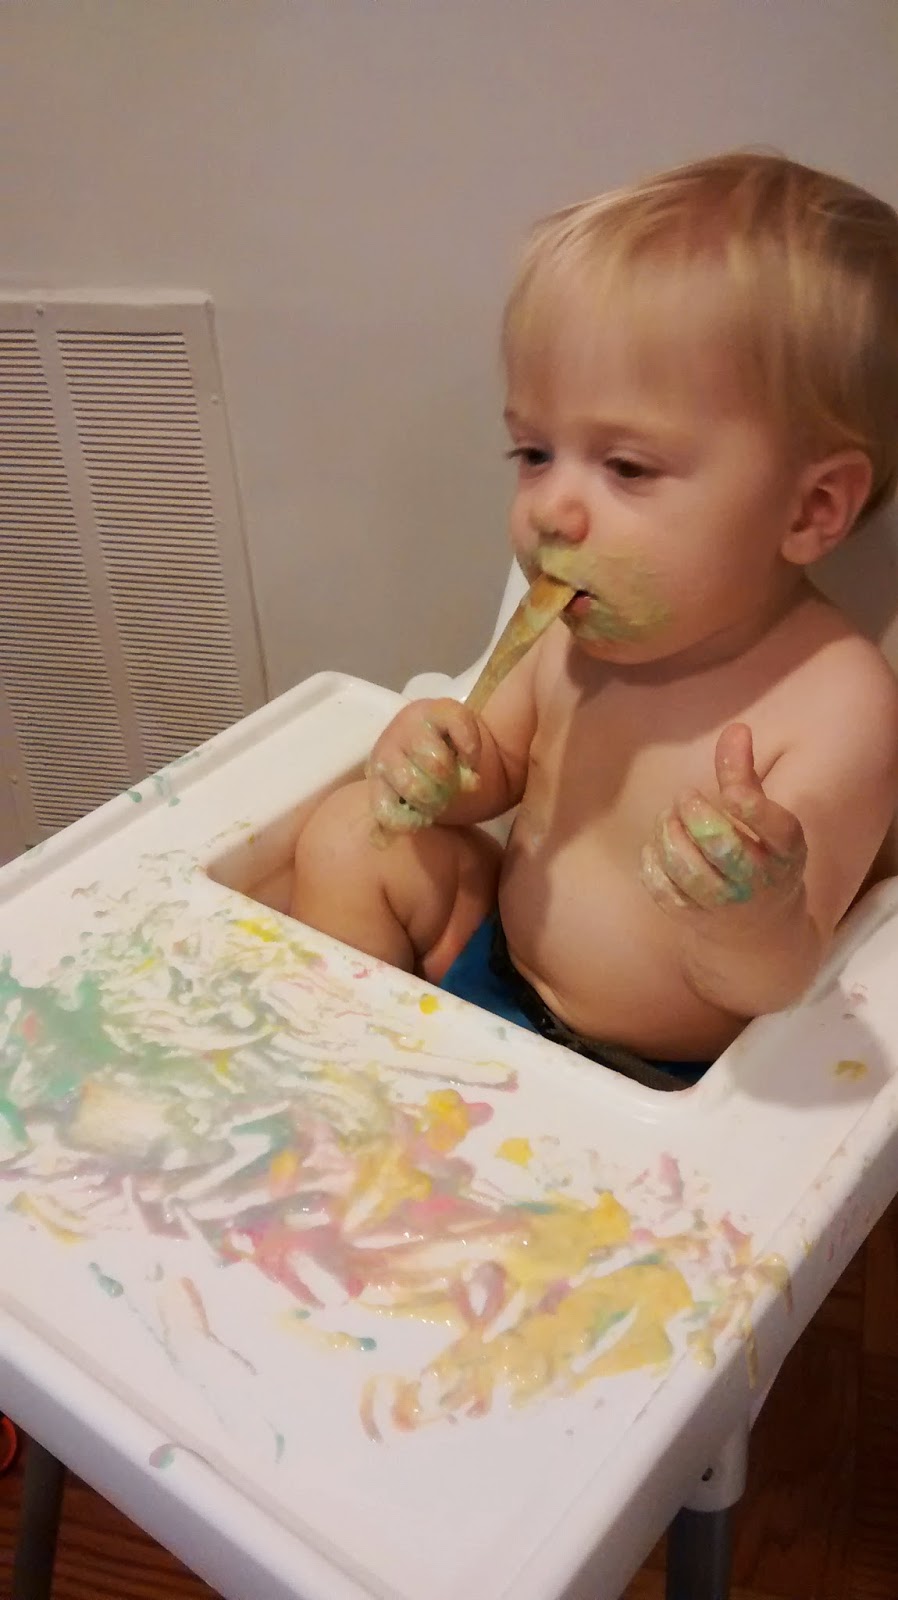
Step 6: Get the naked baby and let him play. My paint lasted 3 days for playing (refrigerated after use). First day we played in high chair and second and third were in bathtub. He loved it! He was a little unsure at first but then jump right in and he did eat a bit of it. I just let him paint right in the bathtub and high chair but feel free to let them paint on paper.


"Yummy mommy I love rainbow soup!"


In the bath tub!