This year is the first year that we are having Christmas with just a my husband, baby, and I. The expense in living on the east coast has made it so we can't go to home to oregon this year (where our hearts are). We are excited to start our own family traditions.
The main thing that we like to focus on this Christmas Season and all Christmas seasons is The Ultimate Gift! Not the movie (though it is a good one) but that of our Savior, Jesus Christ and the great blessing of his birth. Here are some links that express my love for Jesus Christ.
#sharethegift The largest Nativity music video My brother Jacob Schwarz was the director for this video. His Youtube site
is this.
#heisthegift
Our house will be decorated with things that remind of our Savior, even our Christmas tree.
When I was visiting family in oregon the month of November my mother had a Christmas Ornament project for us and weekly we would discuss the names of Christ and their meaning.
Here is the project.
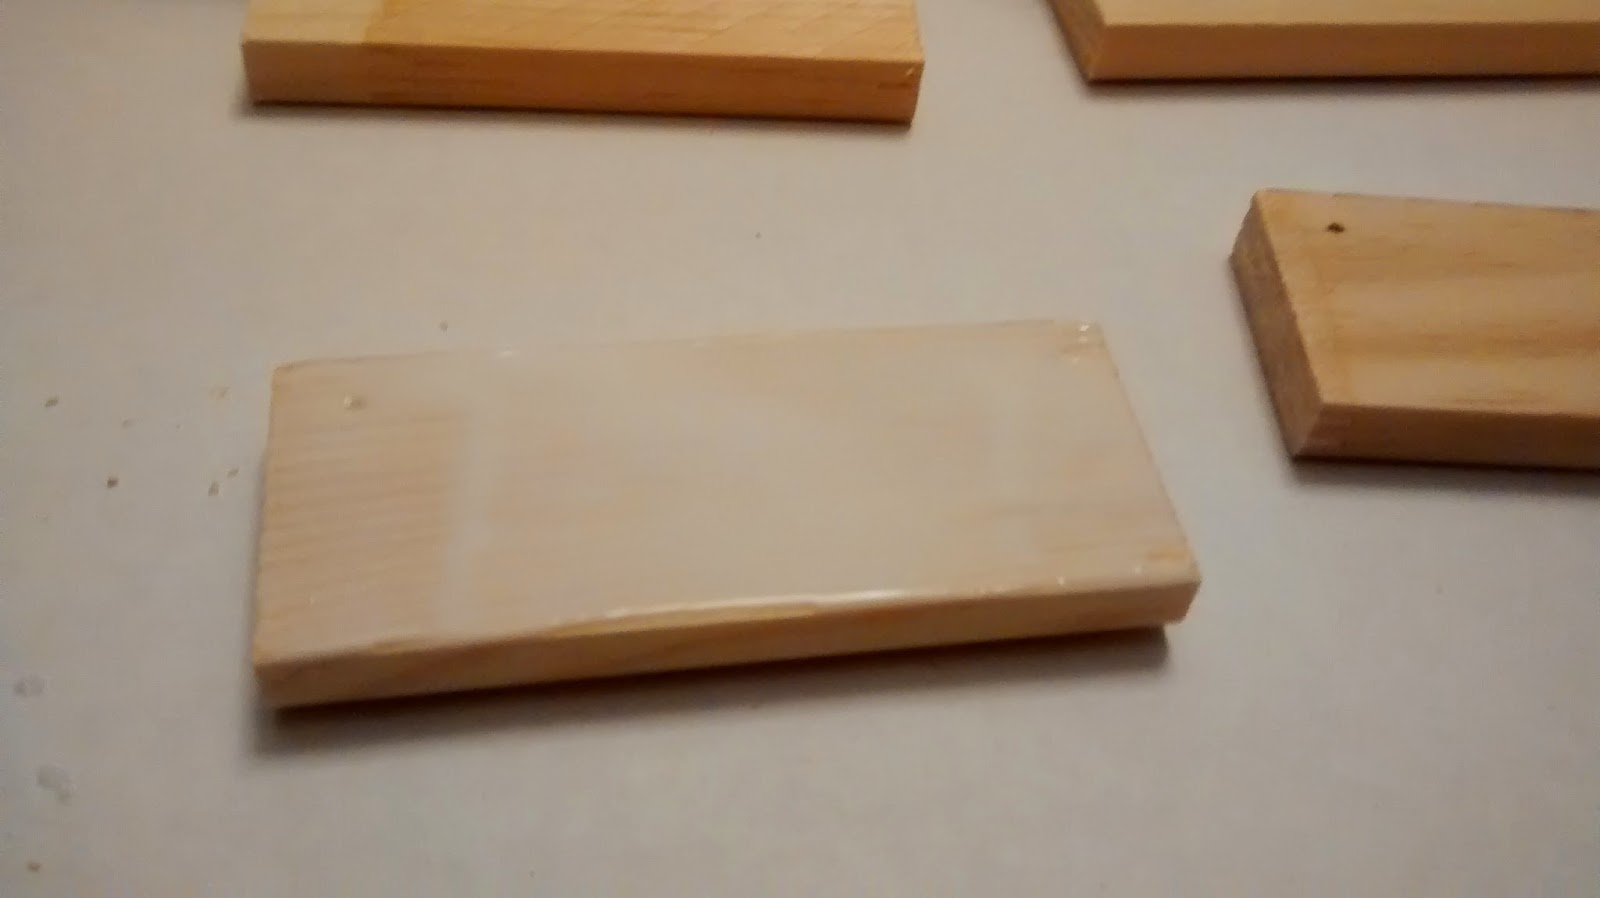
Step 1: Cut thin pieces of wood to the size that you wish and drill two small holes in two of the corners.
Step 2: Print the names of Christ (list found here) on a variety of decorative paper and cut to the size of wood. We discovered that thinner paper was easier to work with in the end.
Step 3: Pour elmers glue in bowl and get a sponge brush and paint a thin coat of glue on one side of the wood. Thin quickly add the cut out of Christ's names.
Step 4: Allow to dry for a day or two.
Step 5: After dried get a fine grade sand paper sheet and proceed to the edges of the ornament. There was overlap of the paper in the wood. Some pieces we found that cut off with scissors first then sanding was easier.
Step 6 : Antiquing time with slightly dampened paper towel or dish towel. Pat on the pad and rub on wherever you want a bit of antique look. Some I patted on the paper, some I did darker, just take some artist license here.
Step 7: Once finished antiquing get some thin gauged wire cut to desired length. Here I did three different methods or attaching the wire. Some of the paper was too thick to push the wire through so I just applied glue to the ends and stuck in the holes and allowed to dry for a day. The two other methods I pushed the wire through the paper and either twisted in a circle to prevent it going back through or I wrapped the wire around itself on top.
Done I love the look of these ornaments and also that with a 15 month old around constantly taking them off the tree I am not worried about them breaking.


LOVE YOUR DECORATIONS!
ReplyDeleteFunny how you gave or help me make them. Love you
Delete