Showing posts with label Crafts. Show all posts

Tuesday, August 4, 2015

DIY Aromatic Cedar Wood Soap Dish/Keeper

My husband and I have really been enjoying making our own soap this last year.


With all the love and care that we put into our soap, we felt that the bars were being wasted in the shower with not fully drying off. So after some research we wanted to make some soap dishes for in the shower and by the sink. We choose aromatic cedar wood to make the dishes out of. 

The benefits of cedar wood as soap keepers is that cedar contains several natural antimicrobial properties and it resists moisture while drying quicklyA soap dish with drainage is essential in keeping your handmade soaps dry and long lasting. In addition is smells amazing!!!!

We wanted the soap dishes to hold a standard size soap bar. I came up with two different sizes I like for two types of locations. The first I sized to fit in the shower (4.5 in by 3 in by 1 in) and the second for next to a sink for hand washing (4.5 in by 3.5 in by 1 in). See diagram below.


Also you can see in the diagram me trying to decided what type of cut I wanted on the top of the dish, whether length wise or width wise. In the final we choose the width cuts not only for looks but for ease of cutting that many grooves. 

The Process

We started out by cutting to size a long board of cedar to 4.5 inches. To cut the grooves we used table saw and cut each at 3/4 in for the entire length of the wood and then cut with midersaw at 3 in increments. We then went back to the table saw and cut two grooves 1 in from both edges. Note: when cutting the grooves we made sure that the blade went half way through the piece of wood, about 0.5 in. This way there is small holes in the dish for drainage.


Once all the cutting was done I then went and sanded all edges and surfaces to create a smooth surface. I recruited my little helper.


We tried out the dishes for a couple of days. We loved the smell, the look, and the quick drying features of the soap dish. But soon discovered the soap would stick to the dish making it hard to take off and use. 

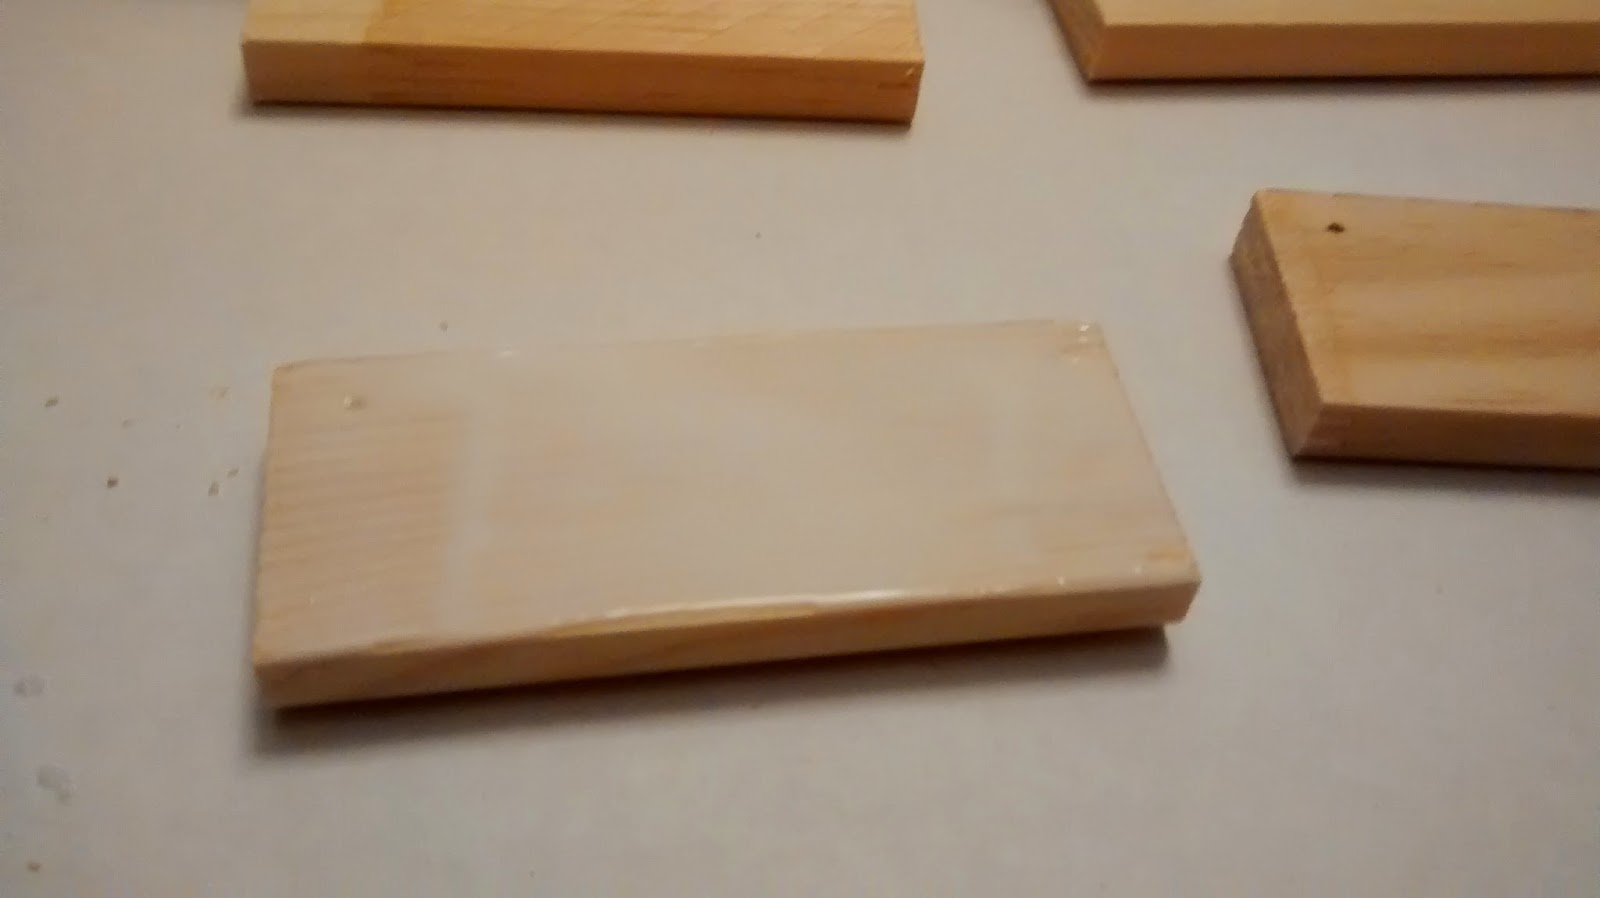
After some research we decided to coat the top and sides in a beeswax cream. Especially sense we have an abundance of beeswax from our beehives.

The recipe

2 tablespoons beeswax
6 tablespoons olive oil 

Melt beeswax in glass jar in a pot of boiling water. Once melted add olive oil. Remelt both together and then remove from water and allow to cool and harden. 


I then took the harden wax and rubbed with rag on the top and side of the dish. I wanted the grooves and bottom to remain un waxed to allow the cedar wood properties to still manifest itself. Allow to dry before use.  

It really brought out the color of the wood.
Left bottom unfinished. 

Tuesday, July 7, 2015

DIY Chalk Board Serving Trays - Using Glass and Old Picture Broads

I have been dying to try this out for some time, but but have not been wanting to invest the money and buying the paint and supplies. Then a friend gave me some extra paint and the picture frames I got form leftovers at a garage sale and I had two glass chess boards I never use. So all I needed was Chalk and an eraser. So here we go!!!!!!

Supplies
Chalk paint
Sponge paint brush
Chalk 
Chalk eraser
Used pictures or glass 
Step 1: start with thin layer of chalk paint. Don't stroke on if using glass it will not stay. I learned that it will stay if dapped on leaving it textured. With the old pictures I just did strokes and it was fine. Allow to dry as directed by chalk paint instructions.


Step 2: once dried apply second coat. For the glass I then put on with strokes instead of sponging.
Step 3: apply multiple coats following instructions for previous coats, making sure follow drying times. For the pictures I found two or three coats was efficient. And for the glass I used four coats.
Step 4: Once you have enough coats of paint and it is dried throughly (I allowed my last coat to dried at least over night). You need to treat the chalk paint with chalk. This is done by rubbing throughly chalk all over its surface. Then wiping off with eraser and repeat with rubbing chalk.


Step 5: Wipe clean and use!!!! I hung my picture frame ones up to leave notes and my glass I use as serving trays.


Sunday, December 14, 2014

Many Names of Jesus Christ - Homemade Christmas Ornaments

This year is the first year that we are having Christmas with just a my husband, baby, and I. The expense in living on the east coast has made it so we can't go to home to oregon this year (where our hearts are). We are excited to start our own family traditions.

The main thing that we like to focus on this Christmas Season and all Christmas seasons is The Ultimate Gift! Not the movie (though it is a good one) but that of our Savior, Jesus Christ and the great blessing of his birth. Here are some links that express my love for Jesus Christ.

#sharethegift The largest Nativity music video My brother Jacob Schwarz was the director for this video. His Youtube site is this.

#heisthegift

Our house will be decorated with things that remind of our Savior, even our Christmas tree.
When I was visiting family in oregon the month of November my mother had a Christmas Ornament project for us and weekly we would discuss the names of Christ and their meaning.
Here is the project.

Step 1: Cut thin pieces of wood to the size that you wish and drill two small holes in two of the corners.

Step 2: Print the names of Christ (list found here) on a variety of decorative paper and cut to the size of wood. We discovered that thinner paper was easier to work with in the end. 
Step 3: Pour elmers glue in bowl and get a sponge brush and paint a thin coat of glue on one side of the wood. Thin quickly add the cut out of Christ's names.
 Step 4: Allow to dry for a day or two.
 Step 5: After dried get a fine grade sand paper sheet and proceed to the edges of the ornament. There was overlap of the paper in the wood. Some pieces we found that cut off with scissors first then sanding was easier.
 Step 6 : Antiquing time with slightly dampened paper towel or dish towel. Pat on the pad and rub on wherever you want a bit of antique look. Some I patted on the paper, some I did darker, just take some artist license here.
 Step 7: Once finished antiquing get some thin gauged wire cut to desired length. Here I did three different methods or attaching the wire. Some of the paper was too thick to push the wire through so I just applied glue to the ends and stuck in the holes and allowed to dry for a day. The two other methods I pushed the wire through the paper and either twisted in a circle to prevent it going back through or I wrapped the wire around itself on top.
Done I love the look of these ornaments and also that with a 15 month old around constantly taking them off the tree I am not worried about them breaking.