Showing posts with label Saving Money. Show all posts

Tuesday, August 4, 2015

DIY Aromatic Cedar Wood Soap Dish/Keeper

My husband and I have really been enjoying making our own soap this last year.


With all the love and care that we put into our soap, we felt that the bars were being wasted in the shower with not fully drying off. So after some research we wanted to make some soap dishes for in the shower and by the sink. We choose aromatic cedar wood to make the dishes out of. 

The benefits of cedar wood as soap keepers is that cedar contains several natural antimicrobial properties and it resists moisture while drying quicklyA soap dish with drainage is essential in keeping your handmade soaps dry and long lasting. In addition is smells amazing!!!!

We wanted the soap dishes to hold a standard size soap bar. I came up with two different sizes I like for two types of locations. The first I sized to fit in the shower (4.5 in by 3 in by 1 in) and the second for next to a sink for hand washing (4.5 in by 3.5 in by 1 in). See diagram below.


Also you can see in the diagram me trying to decided what type of cut I wanted on the top of the dish, whether length wise or width wise. In the final we choose the width cuts not only for looks but for ease of cutting that many grooves. 

The Process

We started out by cutting to size a long board of cedar to 4.5 inches. To cut the grooves we used table saw and cut each at 3/4 in for the entire length of the wood and then cut with midersaw at 3 in increments. We then went back to the table saw and cut two grooves 1 in from both edges. Note: when cutting the grooves we made sure that the blade went half way through the piece of wood, about 0.5 in. This way there is small holes in the dish for drainage.


Once all the cutting was done I then went and sanded all edges and surfaces to create a smooth surface. I recruited my little helper.


We tried out the dishes for a couple of days. We loved the smell, the look, and the quick drying features of the soap dish. But soon discovered the soap would stick to the dish making it hard to take off and use. 

After some research we decided to coat the top and sides in a beeswax cream. Especially sense we have an abundance of beeswax from our beehives.

The recipe

2 tablespoons beeswax
6 tablespoons olive oil 

Melt beeswax in glass jar in a pot of boiling water. Once melted add olive oil. Remelt both together and then remove from water and allow to cool and harden. 


I then took the harden wax and rubbed with rag on the top and side of the dish. I wanted the grooves and bottom to remain un waxed to allow the cedar wood properties to still manifest itself. Allow to dry before use.  

It really brought out the color of the wood.
Left bottom unfinished. 

Tuesday, July 7, 2015

DIY Chalk Board Serving Trays - Using Glass and Old Picture Broads

I have been dying to try this out for some time, but but have not been wanting to invest the money and buying the paint and supplies. Then a friend gave me some extra paint and the picture frames I got form leftovers at a garage sale and I had two glass chess boards I never use. So all I needed was Chalk and an eraser. So here we go!!!!!!

Supplies
Chalk paint
Sponge paint brush
Chalk 
Chalk eraser
Used pictures or glass 
Step 1: start with thin layer of chalk paint. Don't stroke on if using glass it will not stay. I learned that it will stay if dapped on leaving it textured. With the old pictures I just did strokes and it was fine. Allow to dry as directed by chalk paint instructions.


Step 2: once dried apply second coat. For the glass I then put on with strokes instead of sponging.
Step 3: apply multiple coats following instructions for previous coats, making sure follow drying times. For the pictures I found two or three coats was efficient. And for the glass I used four coats.
Step 4: Once you have enough coats of paint and it is dried throughly (I allowed my last coat to dried at least over night). You need to treat the chalk paint with chalk. This is done by rubbing throughly chalk all over its surface. Then wiping off with eraser and repeat with rubbing chalk.


Step 5: Wipe clean and use!!!! I hung my picture frame ones up to leave notes and my glass I use as serving trays.


Tuesday, May 12, 2015

Homemade Bar Keepers Friend - Kitchen, Bath, and Sink Cleaner

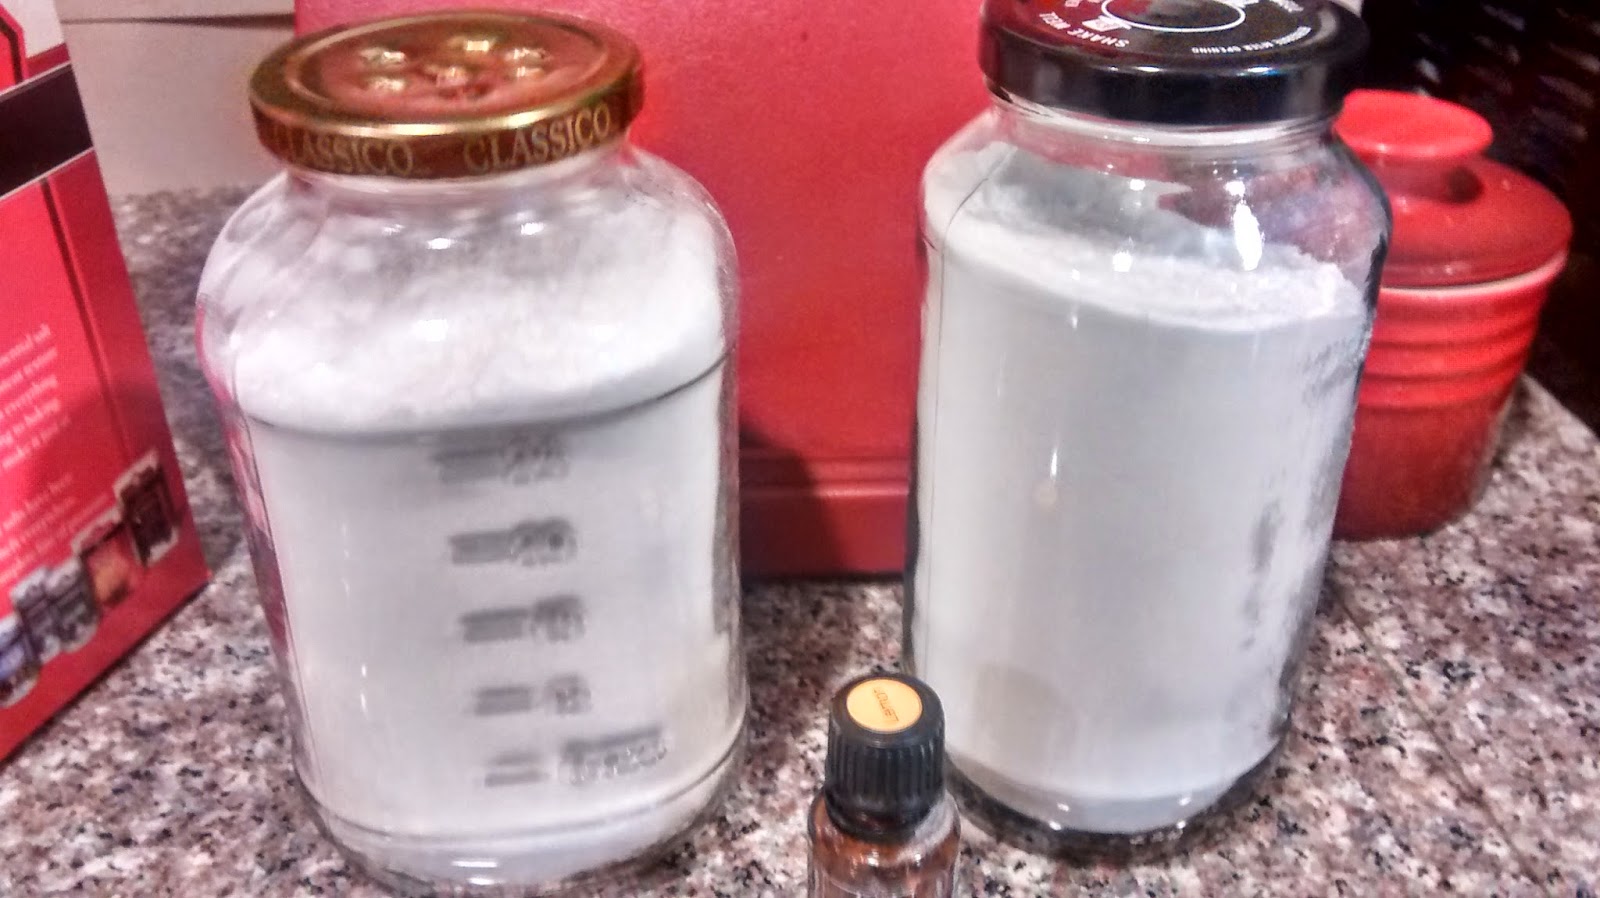
I love the BAR KEEPERS FRIEND cleaner. But got tired of paying the price for it. I looked of directions (here) to make me some of my own and realized that I already had all the ingredients. Been Using it for about 6 months now for cleaning pots, sinks, toilet, and the shower. Love its cleaning power. 


Ingredients

*Lemon Essential oil - Lemon is a powerful cleansing agent that purifies the air, disinfects surfaces, and can be used as a non-toxic cleaner throughout the home.
Instructions
  1. Pour ingredients into jar or bowl.
  2. Mix or stir until well mixed.
  3. If you want to make a shaker, put in a pint or quart mason jar (I used some cleaned out sauce jars) and poke some holes in the top (carefully) with nail and hammer.
Notes
To Use:
Lightly wet surface with water or undiluted white vinegar (for really bad messes)
Sprinkle powder on and let sit 5 minutes
Scrub with sturdy brush until clean
Rinse with water or vinegar (for really bad messes)


Tuesday, May 5, 2015

Homemade 'Tear Free' Baby Bubble Bath Solution

Who does not love a bubble bath? Instead of going out and buying another product I decided to make my own Baby Bubble Bath Solution. This recipe is easy and quick. I know use this every time for bath time, it makes for cleaning and scrubbing my toddler easier because he is already playing and swimming in the cleaning solution.
Ingredients
1 cup Baby soap or shampoo
3/4 cup Water
1/2 to 1 teaspoon Glycerin
15 Drops of Essential Oils (I like to use Lavender or Serenity, soothing before bedtime)
Directions

I poured all of the ingredients into a clear glass bowl and began to whisk, gently. I then had some empty shampoo containers that I funneled the solution into. I then labeled with sharpie (did not get picture of that). And DONE! Time to clean a dirty Baby. 


Tuesday, April 28, 2015

DIY Powdered Laundry Detergent

I decided to try some powdered laundry detergent. It is basically the same ingredients as my Liquid Detergent Recipe but concentrated. Decided that I needed to make more space in the laundry department, instead of having all these gallon jugs around. Don't get me wrong I still like my other detergent recipe (used it for 19 months). But we found we like the smell of our clothes better with this powdered detergent.   

DIY Powdered Laundry Detergent 

Ingredients

Directions

Thoroughly stir together for 5 minutes and enjoy the results! You can take this a step further and blend the mixture in a blender or food processor to create a powder that will dissolve easily even in cold water. (Just be sure to let the dust settle before removing the lid of your blender or food processor so you don’t inhale the fine particles.) Store in a sealed container with a small scoop.
Lemon Essential oilLemon is a powerful cleansing agent that purifies the air, disinfects surfaces, and can be used as a non-toxic cleaner throughout the home.
Purify Essential OilPurify can eliminate foul odors quickly and be an effective cleaner throughout the home. Purify contains Lemon, Lime, and Pine essential oils, known for their powerful cleaning properties, along with Siberian and Austrian Firs to purify the air and protect against environmental threats. The addition of Citronella, Melaleuca, and Cilantro give this blend an enticing aroma that’s uniquely dōTERRA and unmatched in purification properties.

To Use

Use 1/8-1/4 cup per load (depending on the size or soiled level).


Tuesday, January 20, 2015

DIY Liquid Laundry Detergent - Money Saving - Cloth Diapers

This is my favorite homemade laundry detergent recipe for four reasons;

1. Does not require many ingredients
2. Multi-purpose uses of the ingredients used (for other cleaning recipes, see here)
3. Money saving
4. Easy to make

I have been using this recipe for almost a year now and have had no problems with it. Use it on my cloth diapers as well.
Recipe

1/4 to 1 cup Borax
1/4 to 1 cup Baking Soda
2-4 tablespoons of Blue Dish Dawn Soap.
1 gallon of water, approximately
Essential oils (See below for options and combos) - OnGaurd blend is one that I will be using
Empty gallon juice jug (I use the Apple Juice Jugs from Costco, we first drink the juice)
Directions

Step 1: Measure out the Borax and Baking Soda. I use about 1/4 cup of each but if you need a stronger detergent add more out in Juice Jugs.
Step 2: Add about 4 cups of very hot water and then mix the ingredients together well.
Step 3: Add the remaining water to jug but have it be cold till it is not quite full.
Step 4: Add the dish soap to some water then add to jug, mix gently and add remaining water if needed. (Note: I add the ingredients in this order to prevent the dish soap from bubbling up and making it very hard to fill the Jugs.
Step 5: As you a can see I make several gallons at once (as much as I have room for). I only add the esstential oils to the gallon jug only when I start to use that jug.
Step 6: Use between 1/3 cup to 1 cup depending on the amount of cloths and the dirtiness factor. For my cloth diapers I use about a cup for a small-meduim size load.

Here is some Essential oil combos that I used, found here.
Power up your homemade laundry soap with one of the following essential oil blends. Not only will they make your clothes smell nice, but they have antibacterial, antiviral and anti fungal properties – great for killing germs while washing out dirt and grime. If you’re exceptionally sensitive, you can leave out the essential oils – you’ll still get a good laundry detergent with strong cleaning powers.
Lavender Essential Oil Blend
40 drops Lavender
30 drops Lemon
20 drops Clove
Citrus Essential Oil Blend
30 drops Grapefruit
30 drops Orange
30 drops Lemongrass
Tea Tree Essential Oil Blend
40 drops Tea Tree
30 drops Lemon OR Lemongrass
20 drops Palmarosa
This following recipe is on that I have not tried yet, but I am putting it on here to remind me to try it. It is a powdered laundry detergent.

Ingredients

1 bar (or 4.5 ounces) of shaved bar soap (a homemade laundry bar, Dr. Bronner’s, Ivory, ZOTE, or Fels-Naptha)
1 cup of borax
1 cup of washing soda
Essential Oils

Directions
Thoroughly stir together for 5 minutes and enjoy the results! You can take this a step further and blend the mixture in a blender or food processor to create a powder that will dissolve easily even in cold water. (Just be sure to let the dust settle before removing the lid of your blender or food processor so you don’t inhale the fine particles.) Store in a sealed container with a small scoop.

Use 1 Tbsp per load (or 2-3 Tbsp for large or heavily soiled loads).

Tuesday, December 30, 2014

HOMEMADE TORTILLAS and Black Bean Burritos

I love the freshly made tortillas at Cafe Rio, so I set out to make my own. I learned that they are super easy and just as or even better than Cafe Rio's. Note though they are easy to make it does take time. I recommend making with a friend. One rolls and one bakes the tortillas.
This picture makes me so happy. Hot sauce, tomatoes, and homemade bean burritos. 
Ingredients
  • 3 cups all purpose flour, plus a little extra for rolling the tortillas
  • 1/3 cup oil
  • 1 teaspoon salt
  • 1 teaspoon baking powder
  • 1 cup very warm water
Instructions
Step 1: Combine flour, salt, and baking powder large mixing bowl with a dough hook till combined.
Step 2: Add the oil and water and mix till well combined and continue to mix for another minute.
Step 3: Stop and scrape edges. When mixtures comes together and forms ball decrease the mixing speed to low. Then mix until smooth.
Step 4: Transfer to well floured surface and divided into 8 balls for 12-14 inch tortillas or 16 balls for 6-8 inch tortillas.
Step 5: Flatten each ball with the palm of your hands and let rest for 15 min covered.

Step 6: Heat large flat pan to med-high. Roll each flatten ball into a very then circle using a bit of flour to keep the dough from sticking to the surface and the rolling pin.


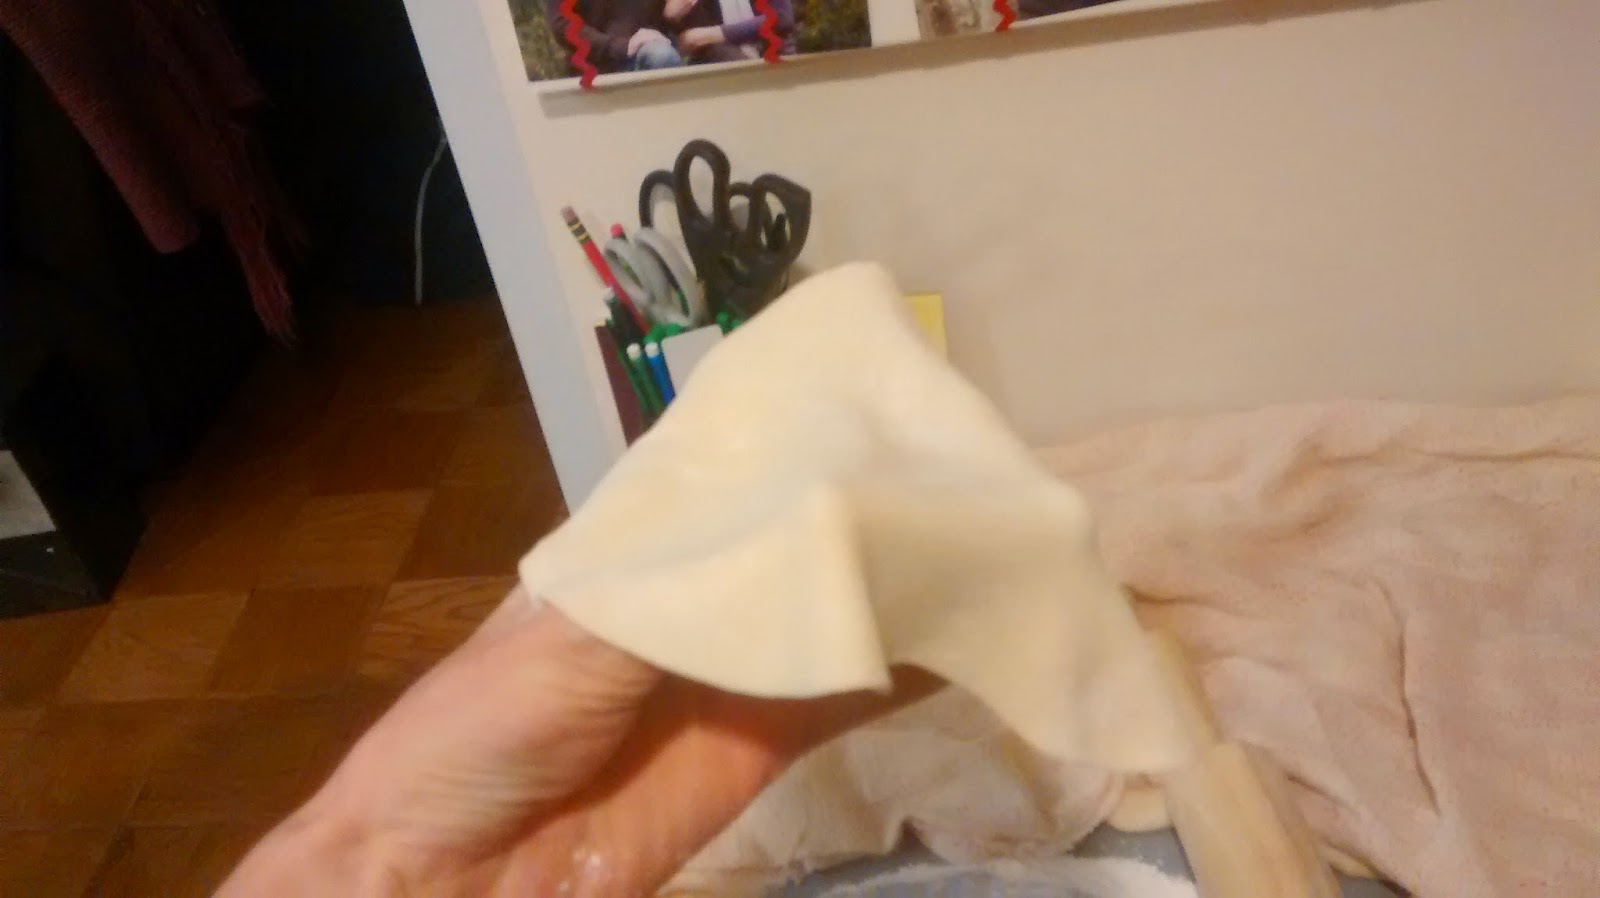
Step 7: Transfer the thin tortilla to the hot pan. After 30-45 seconds, when brown splotches show underneath, flip it over. cook another 30 -45 seconds more, until other side is browned.  Do not overcook or the tortilla will become crisp.  Remove and wrap in a cloth napkin.  Repeat procedure with remaining tortillas and stack them on top of each other.Note, cook time is PER tortilla and is approximate.  Go by the way it looks more than you go by time.
See the bubbles. That means it is time to flip.
Husband made me this one and said, "I love you."

Feed to baby
Refried Black beans
Ingredients
  • 2 cans of cooked black beans
  • 3-4 cloves of garlic, minced
  • 1 onion, optional
  • 1-4 tablespoons Fat, amount depends on if using onion
  • 1 teaspoon salt
  • 2-4 teaspoons of taco seasoning
  • water, if needed
  • For fun (or rather health I have added shredded carrots or other vegetables) husband not a fan.
Instructions

Heat the fat in a large skillet over medium heat. Add the onion and cook until tender, about 3 minutes. Stir in the garlic and taco seasoning and cook for 1 minute more. Stir in the beans cook beans on a low simmer for 10-15 minutes. Mash the beans coarsely with potato masher, adding more water to moisten, if needed. Season with salt and pepper, to taste.